Overview
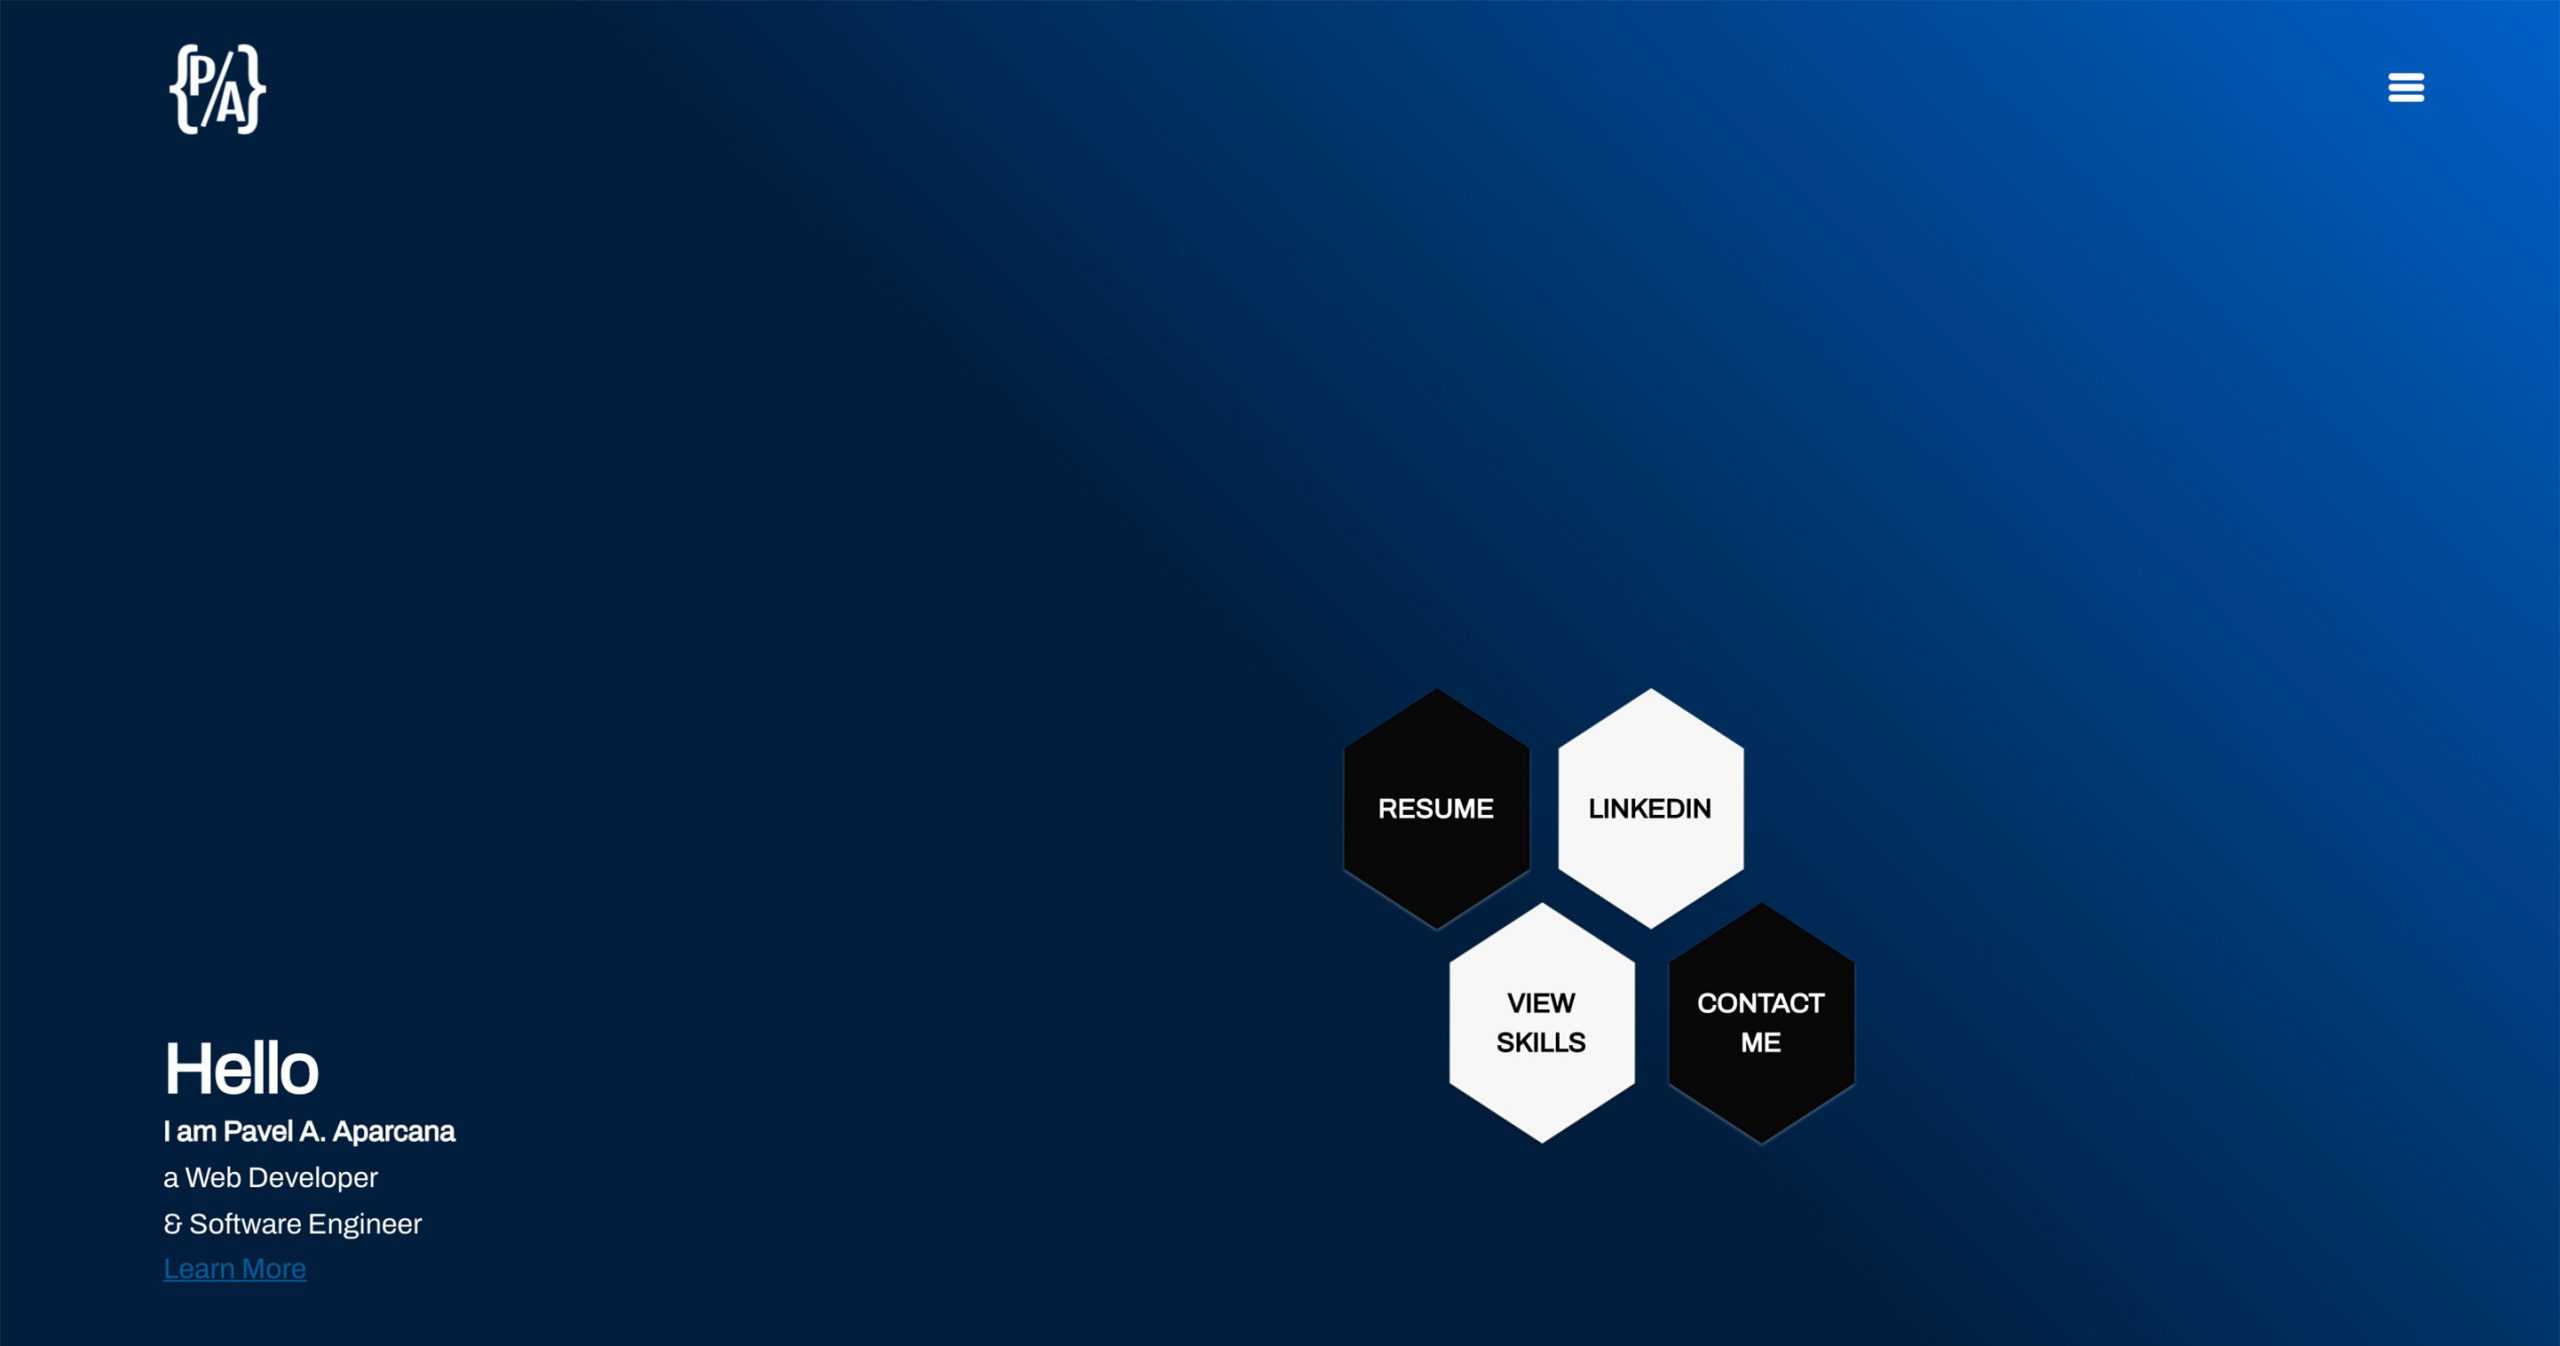
Initially, this project was built on the Spring of 2018 as a static website using HTML, CSS, and jQuery for animations and transitions. It was then updated and rebuilt a few more times, adding newer technologies like Angular 7, TypeScript, and JSON. The second to last version was released in January 2020, after I had gone through App Academy’s coding bootcamp, in this version I focused on giving it a refresh.
Now, in 2022, my website needed a major update. This time around, the goals for the update were:
- To add and replace some of the stack to keep the technology up to date
- Build the website following orthogonal design concepts
- Build the website using a CMS to allow for easier content updates
- Majorly update the overall design
This might be biased, but I am happy with the overall design update (front-end and back end), and the best part is that it is only going to grow! This version was a complete upgrade and redesign, so this version of my website is Version 4.0.
Live Link
View ProjectPrevious Version
View v3
Challenges & Solutions
Challenges
- GatsbyJS vs NextJS
- The CMS
- Mastering WordPress
- ACF Pro
GatsbyJS vs NextJS
Deciding which front-end technology to use was the hardest part. After some research, I chose to go with GatsbyJS for the front-end of my website, hosted on Netlify.
It was between NextJS and GatsbyJS, I chose GatsbyJS because it uses Static Site Generation (SSG) to pre-render pages. Not only will this help my website be lightning fast, but it will also help the Gatsby server not work as hard as most servers do when hosting WordPress websites. This helps my website as I plan to use it in the future for blogs, tutorials, and to continue building my portfolio. Furthermore, this means that my website will not be changing constantly. If it were, say, an ecommerce website, then NextJS would have been the better choice. Finally, as I already knew how to work with GraphQL and React, developing in GatsbyJS was a breeze.
One of the greatest things about a headless website structure, is that if I ever choose to add a shop on my website, or if I begin using a new front-end technology, all content I currently have will stay untouched, as it is decoupled from the design. All I would need to do is built the front-end! This is also true if I ever want a new version of my website.
The CMS
Content Management Systems are great for websites, as it allows to create and update content much easier. Unfortunately, there are many CMS platforms to choose from. Fortunately, Gatsby works with most of the top CMS platforms!
Since I have already worked with GraphQL, the CMS that I preferred had to have a GraphQL endpoint, either natively, or via an extension to the CMS. I decided to go with the WordPress CMS for three reasons:
- WordPress is the most popular CMS platform. On top of that, WordPress has a strong community support, as well as strong documentation.
- I already had some experience working and developing in WordPress.
- WordPress plugins called “WP GraphQL”, and “WP Gatsby” which allowed me to seamlessly integrate GatsbyJS.
Mastering WordPress
WordPress is a great CMS, with even greater popularity on the web which means that it will have constant support and documentation. The fact that it is open source allows me to view and edit the WordPress file system according to the best practices with its documentation.
Editing the file system also allows me to add my own features on top of the ones that WordPress already offers. Unfortunately, there is a small learning curve to understanding all features WordPress offers, but that is expected with any new tool! Once I became familiar with how each of these features worked, I was able to add the necessary custom tools needed to continue building the backend structure of my website.
ACF Pro
While WordPress does offer a lot of tools for setting up a blog website, I needed more capabilities to build the page structures. Advanced Custom Fields Pro (ACF Pro) is a great WordPress plugin used by many WordPress developers, me included. It has great documentation and community support, and it is constantly maintained by a team of developers. The type of custom fields you can add using this plugin to a page, allow for many possibilities for the content of the page, as well as its structure. With this plugin, I was able to extend the functionality of the default fields WordPress offers.
Learning how each different Custom Field offered by ACF Pro worked and behaved took some educated guesses, as well as some trial and error. While their documentation is great for querying fields and managing the data, the way their blocks look on the WordPress dashboard was something I had to get used to. To make things easier to find, I try to match how the page looks, with the location of each field. While I could have simply added all required fields in one group, structuring it similar to the front end looks also allowed me to query for these sections in an organized manner, where I was able to retrieve the data needed with the GraphQL endpoint.

